 +8615280858852
 +8615280858852
Preparation of specimens
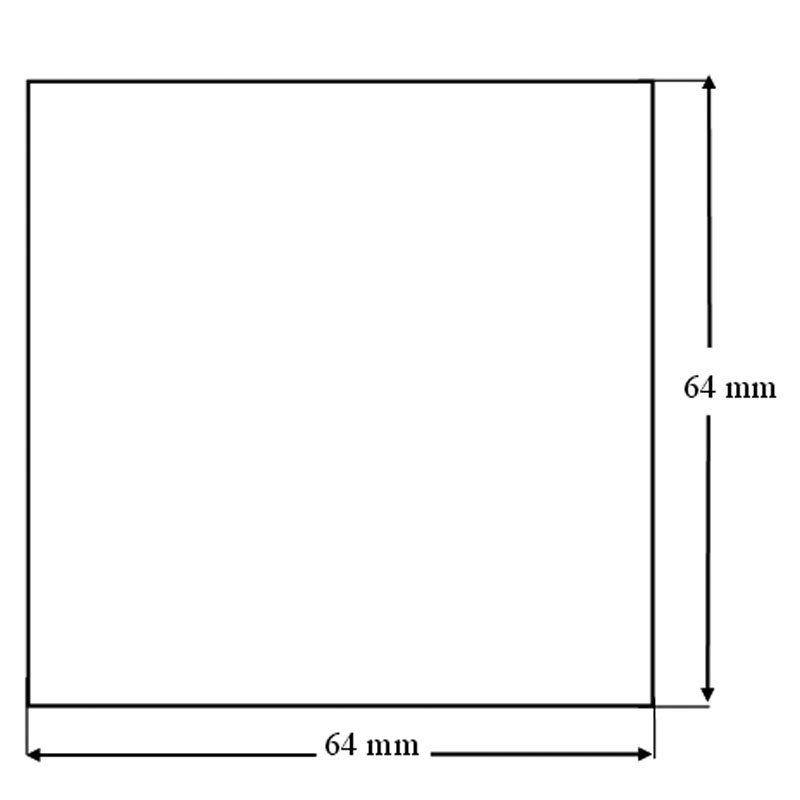
1. Cut out the required number of square test specimens of 64 ± 1 mm × 64 ± 1 mm from various parts of the material to be tested (no scratches, creases or folds) using the standard cutter or scissors along the direction of warp and the direction of weft.

Procedure of Upper and Vamp Material Flexing resistance Tester
1. Method for clamping specimen
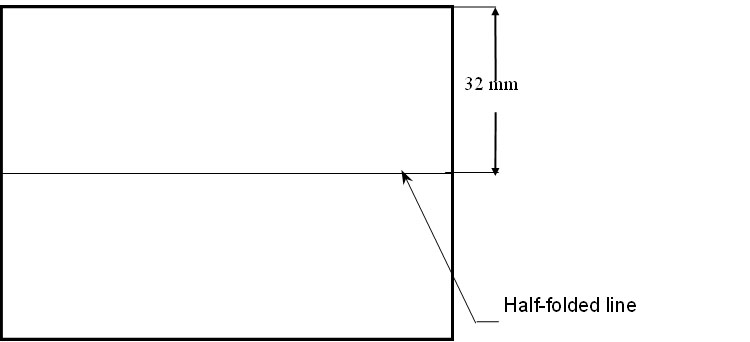
1.1. Half fold the specimen along the direction of long with the reverse surface inwards and the edges in alignment with each other as shown:

1.2. Press the LOC. Key or rotate the adjuster to slowly separate the clamps to their maximum distance.
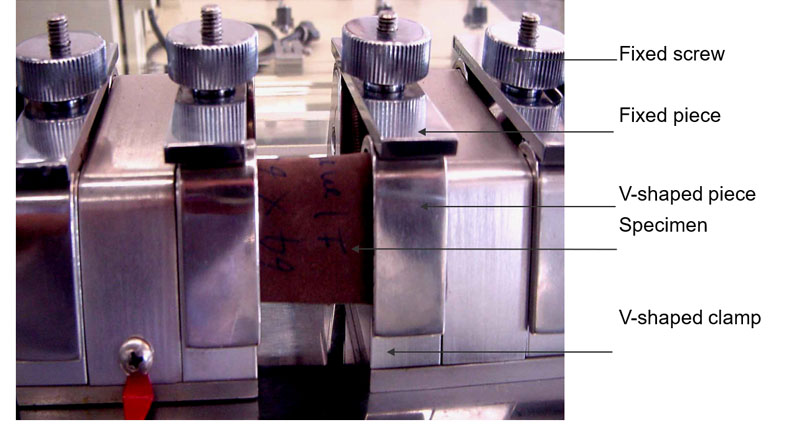
1.3. Loosen the fixed screw, and remove both the fixed piece and the V-shaped piece. When loading specimen over the V-shaped clamps, specimens of outer material should be loaded with their reverse surface facing downwards, whereas specimens of footwear lining material should be loaded with their reverse surface facing upwards. Fully tighten the clamp at one end, ensure the test specimen is not slack, and then tighten the clamp at the other end.

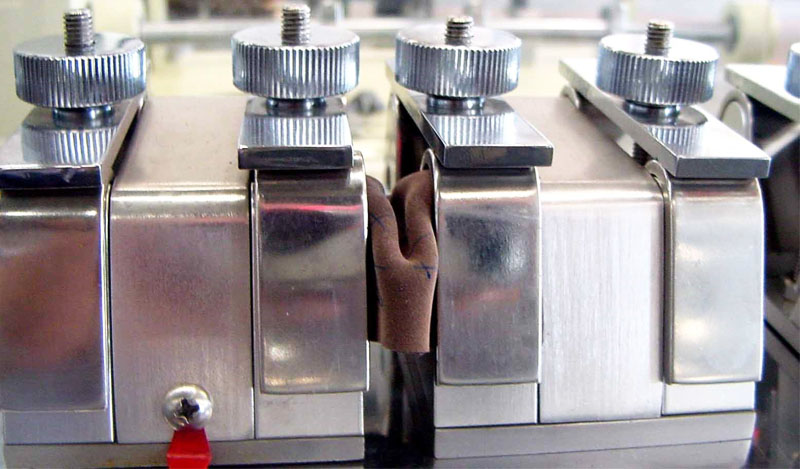
1.4. Press the LOC. key or rotate the adjuster to slowly move the clamps together and watch the specimens to ensure that the center section of each specimen folds downwards. If this is not the case, apply gentle pressure to the center of the ridge as the clamps move together to form a downward fold.

1.5. Turn the POWER key on, and set a specified number of test cycles on the control panel.
1.6. Press the START/STOP key to allow the machine to run.
1.7. When the preset number of test cycles is reached, the machine will stop automatically. Press the START/STOP key firstly, and then turn the POWER key off and remove the specimen.
2. Method for wetting specimen
2.1. Place any test specimens that are to be tested wet onto the table with their reverse face uppermost. Spot 1cm3 of distilled water from a pipette on the reverse face of each specimen and use the glass rod to work it uniformly into the material, to within 5 mm of the edge of the test specimen. It usually takes between 1 and 2 minutes for the water to be absorbed.
2.2. The test method is the same as the dry test.
Assessment of results
●Run the machine until the preset number of test cycles is reached, examine the damage of specimens as the following:
1.No effect, or slight creasing or piping
2.Marked or severe creasing or piping
3.Slight cracking
4.Marked cracking
5.Severe cracking
6. Complete failure
●Also record whether there is any delamination or flaking at any inspection stage.
●Salt spue
For leather test specimens which are being assessed specifically for salt spue, grade the amount of spue as “light”, “marked” or “heavy”, as judged by naked eye.
AVENO Machine Recommend:
AF16 Upper and Vamp Material Flexing Tester
Contact Us Now!
Sales Dept Tel: +86 15280858852
Email: sales@avenotester.com
Skype: sales@avenotester.com
Web: www.avenotester.com
 online service
 +8615280858852
 sales@avenotester.com
 +8615280858852